Creating a share room is an essential task in order to play with others on your rules. It is a fairly easy process which is explained in this step-to-step guide.
-
Step 1: Access the shares page and then click the Create button.


-
Step 2:: Enter the title of your room and choose the main image. Write a short description of your share to let people know
everything you want them to know. Then you can add up to 3 additional screenshots which are displayed on the share page.


-
Step 3: You need to choose you if the share you're creating requires workshop content (mods and the map). If you want to use mods, you need to provide
a link to the Steam Workshop collection. (How to create a collection?). The same thing applies to a custom map.
If you want to use one, provide a link to it.

-
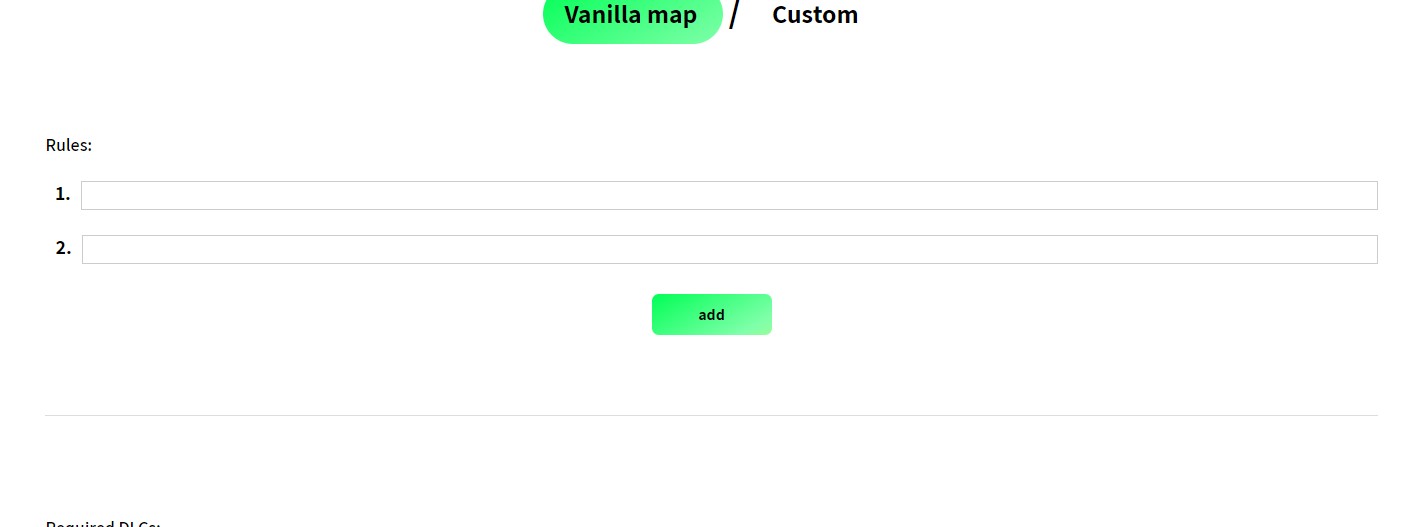
Step 4: If you want your players to follow a set of rules, you can add some by clicking on the Add rules button.
If you want to add another rule, click the add button.


-
Step 5: If the share you're creating requires any DLCs or other content, be sure to choose them from this box. Then you need to add some tags.
Tags help people find your share and show some information about it right on the shares list.


-
Step 6: Then you have four on / off properties.
Autoskip automatically skips the turn when the time provided is up. Show more Save file preview allows all the players to download the copy of the savefile without disrupting the queue, but without the option to upload it afterwards. Show more Random access turns allows any player to take their turn at any time, provided that no one else is currently playing. Show more Private. Only people with an invitation link can apply to the share. Your share won't show up at the top of the shares page as well.
-
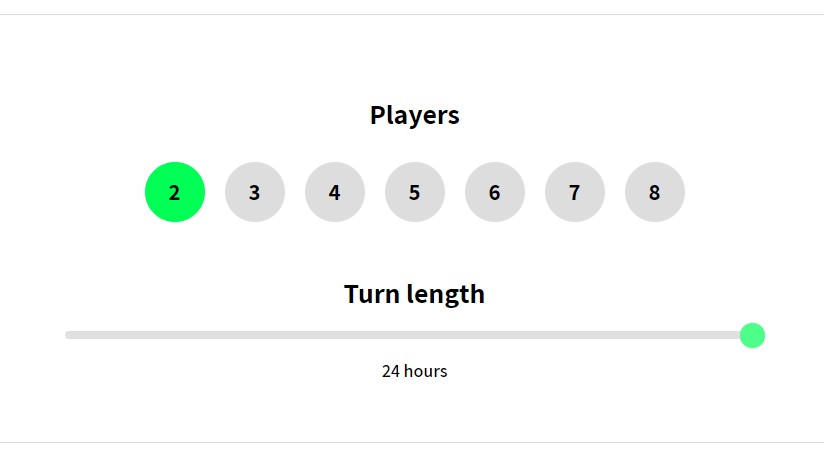
Step 7: Every share has a player limit. You can start the share if there are less players than the limit, but it will enter into Active - Recruiting state (see more about statuses).
You also need to select the turn lenght. It is the maximum time for a player to upload the save file back, after the turn is started. In chronological turns shares it is in days, but in random access ones, it is in hours.


-
Step 8 The last step is to upload your save game file. You may want to create some districts on the map beforehand, to assign them later to specific players.
You can find your saves in you AppData\Local folder, then Colossal Order\Cities_Skylines\Saves, but you need to save the game locally in order for it to be there.
When saving, unclick "Use Steam Cloud". The last important thing is that it can't be an autosave file!
